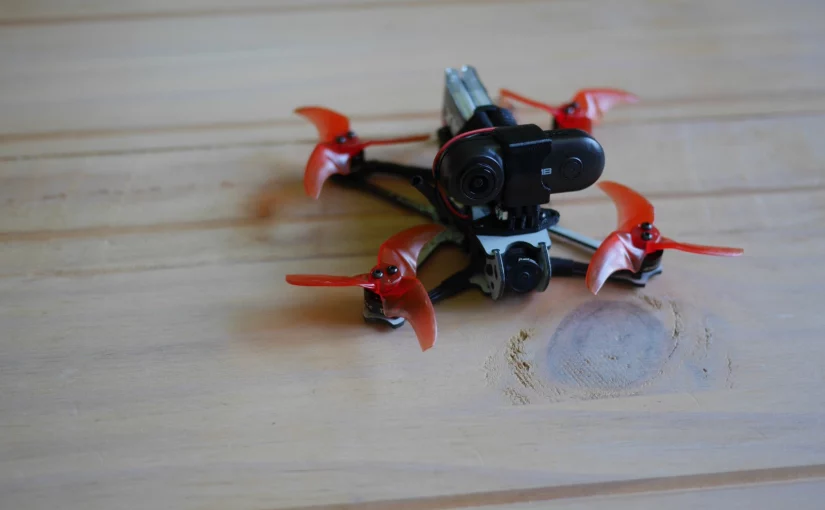
In this post I will show you how you can shoot some cinematic footage with your TH II Freestyle by mounting a RunCam Thumb on top. This cam only weights 13g including the mount and thus does not impact the flight-time and performance much.
Also, it is easy to remove it again in case you want the full performance back.
The procedure is quite simple as you only need to solder two wires and can use the stock parts for the rest. You need the package that includes the 3D-printed mount though.
Note that there is a new “naked” RunCam Thumb variant now, which only weights 6.6g that you can use to further reduce the weight.
Mounting
First, we need to solder-on the power-connector. For this, remove the top plate so you get an easier access to the pins.
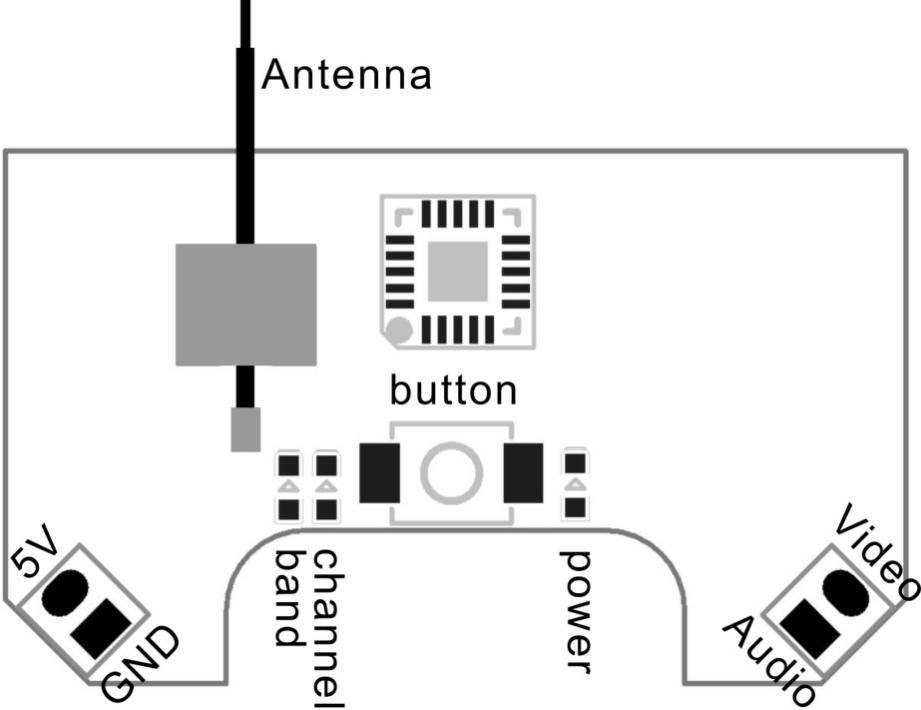
We will use the 5V connection coming from the controller-board, which also powers the VTX. The images below show the result and the board schematic for an overview.
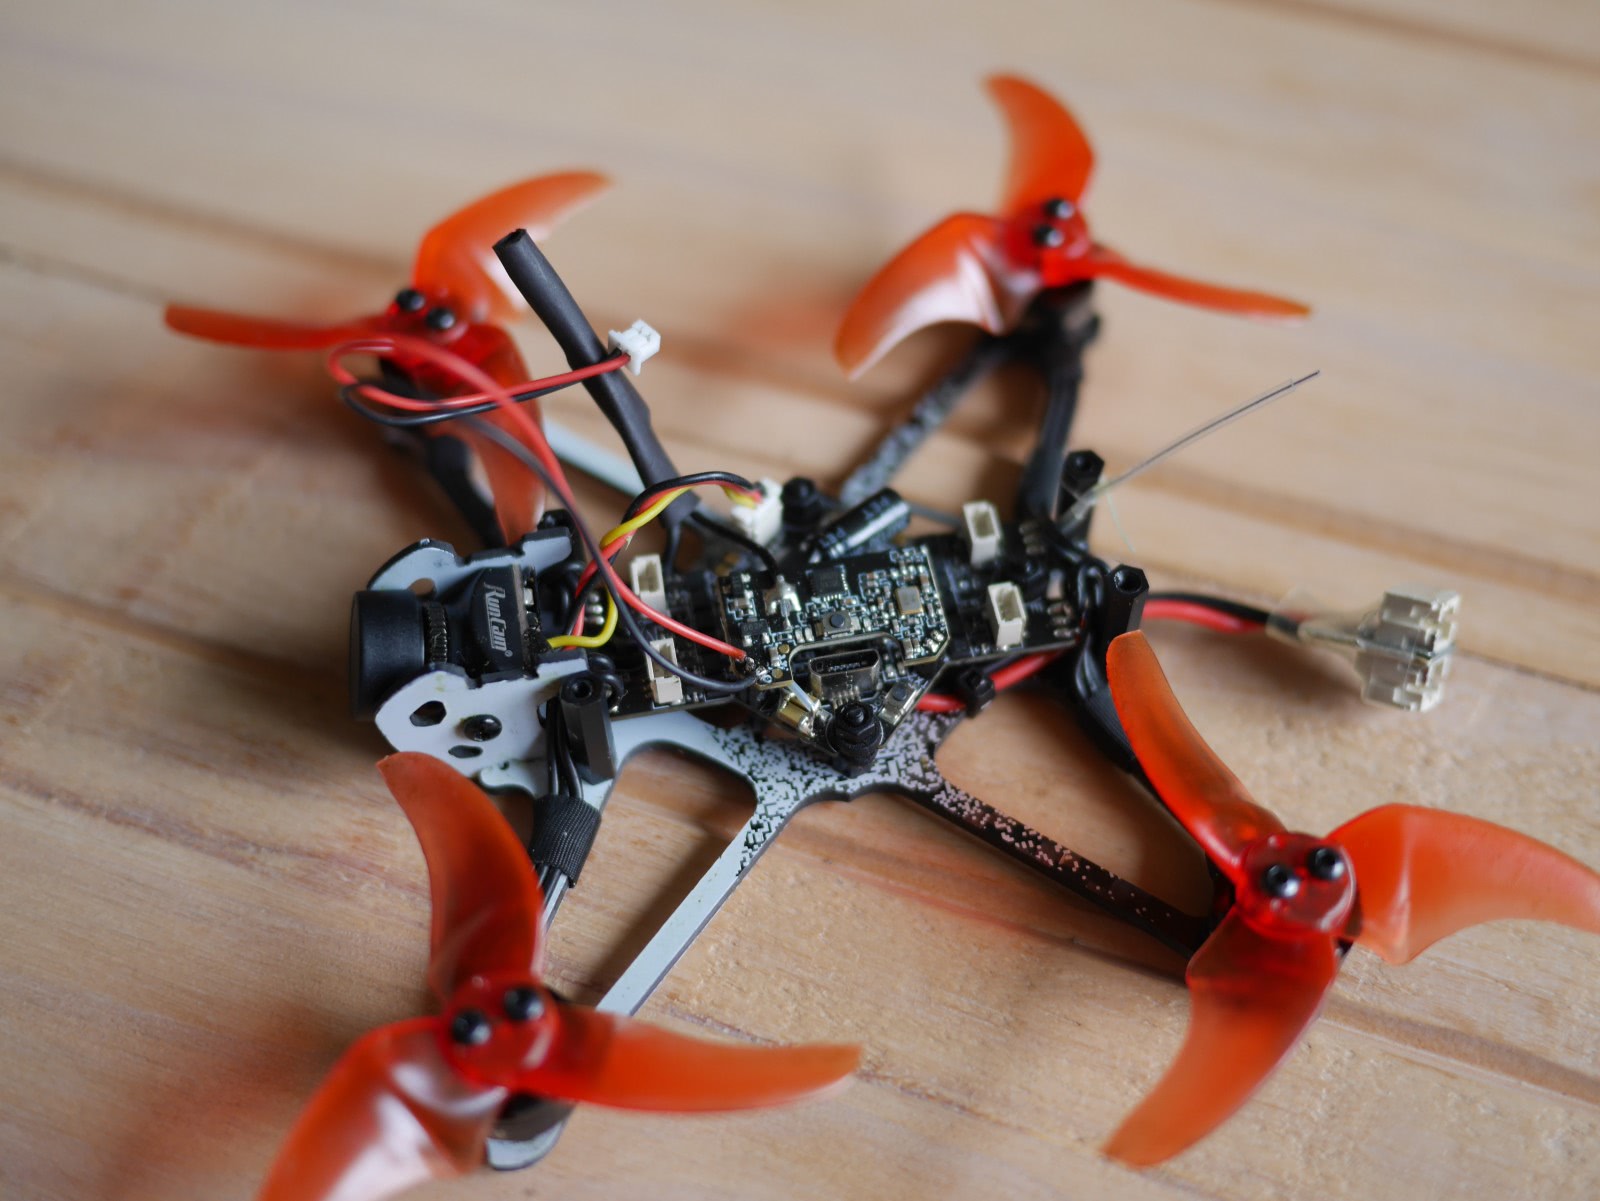
To keep the power-cable away from the rotors, you should route it behind the VTX antenna.
The camera-mount itself, can be attached by using the screws that hold the top plate – they are long enough to keep both in place.
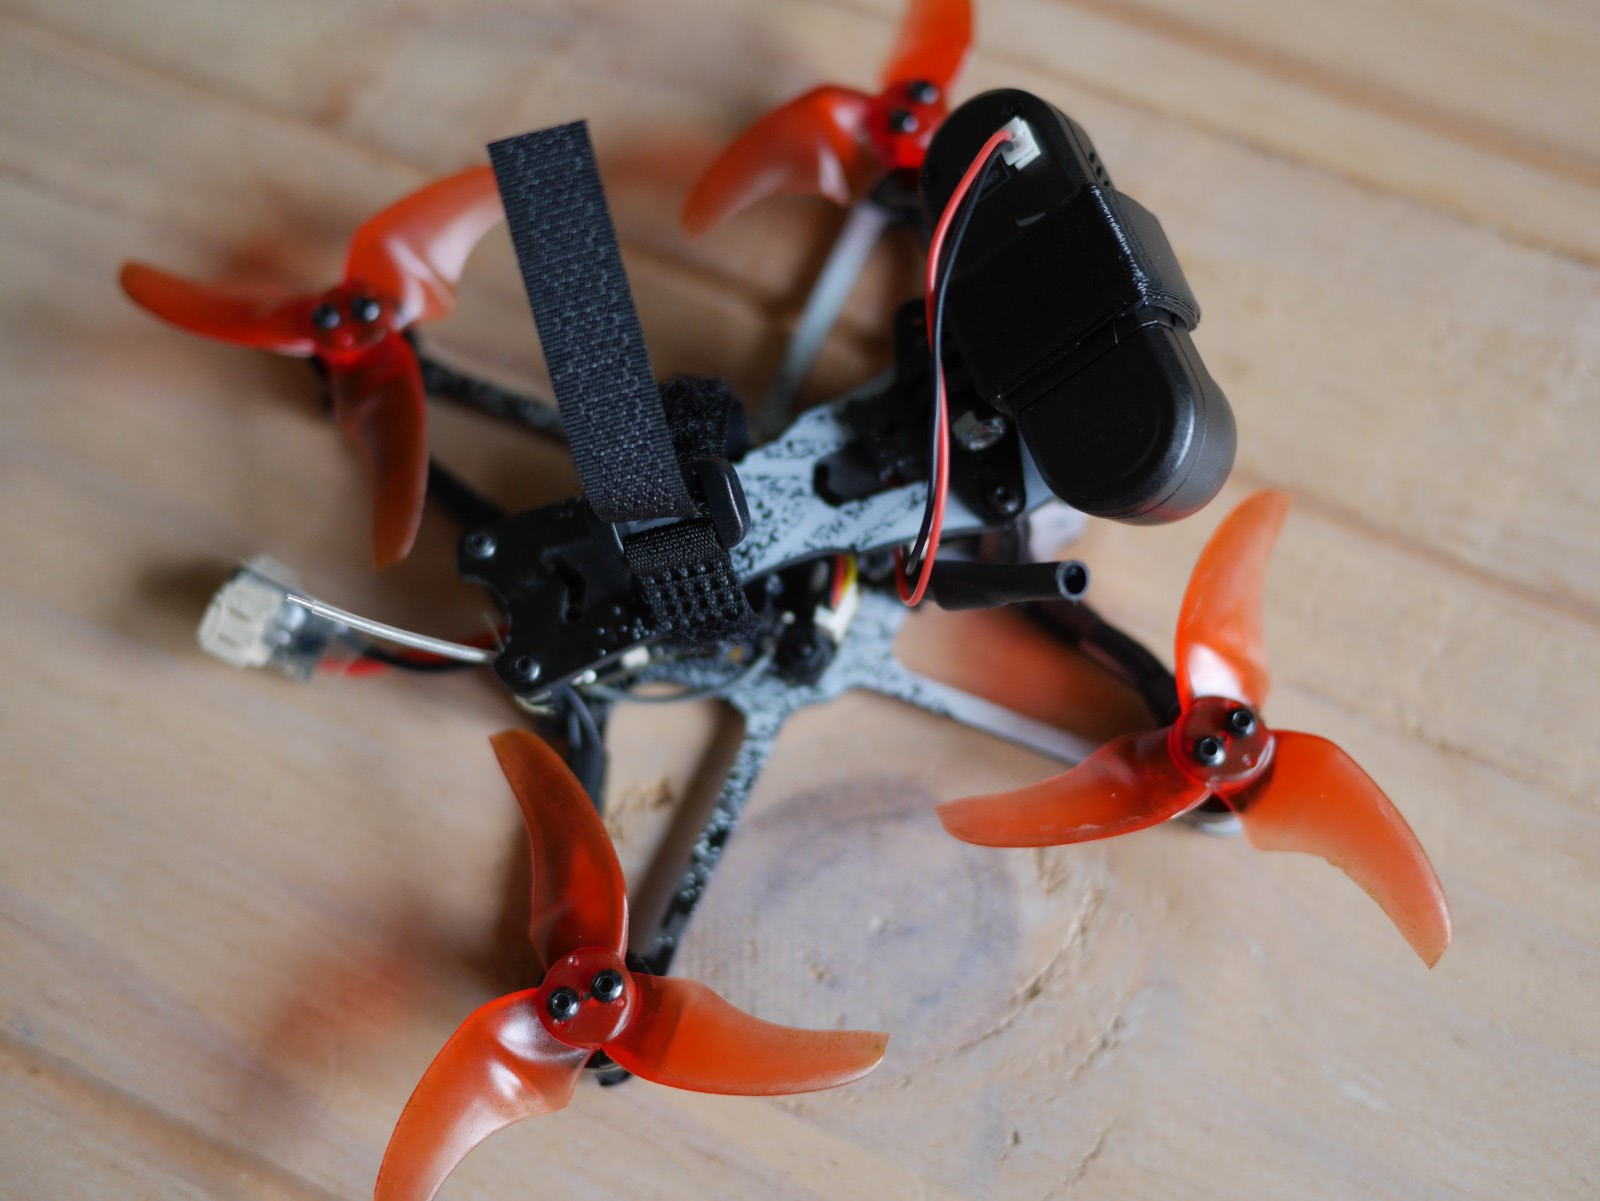
Note, that I shifted the mount to the left to keep the center of mass and the lens closer to the middle of the quad.
Gyroflow Results
There are some reports about issues when using Gyroflow with the RunCam Thumb recorded data.
Below are the results of the v2.1.0 firmware with Gyroflow v1.1. I disabled the zoom and increased the FOV to include the invalid regions so you can see the gyro compensation in action
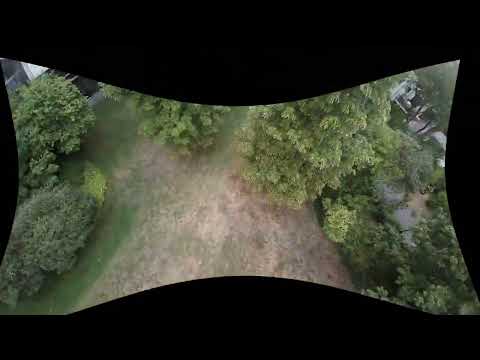
You can see how Gyroflow removed the radial distortion and keeps the image-center steady by shifting the frame based on the gyro data. So the gyro based stabilization definitely works.