So after having made fun of people for “wearing toothbrushes”, I finally came to buy such headphones for myself.
Having used non-true wireless Bluetooth headphones before I was curious what the usability advantage would feel like.
Here I went for the Xiaomi AirDots Pro 2 aka True Wireless Earphones 2S which I could grab for 399 Yuan which is about 51€, which seems like the right price-point for this kind of accessory.
Table of Contents
- Compared to the Airpods 2
- Companion app & Software integration
- Noise Shielding
- Compared to True Wireless Earphones 2 Basic / Air 2 SE (Addendum)
- Charging issues
Keep in mind that the built-in battery only survives so many charging cycles and once it dies you can throw them away.
The initial feeling of using true wireless headphones is surprisingly relieving – there is simply no cord to untangle or to be aware of while wearing.
This is especially true during phone calls, where one needs to keep the microphone aligned.
The downside is that the headphones are too small to accommodate any buttons for volume and playback control.
The Air 2 kind of make up for it by automatically connecting to your phone once you put them on and by automatically pausing the music when you put one out of the ear. This is achieved by a built-in brightness sensor.
Furthermore you have double-tap actions, which default to play/ pause on the right headphone and launching the voice assistant (e.g. Google Assistant) on the left headphone.
The battery life is stated with 4 hours per-charge with 2 extra charges in the case. I could confirm those on a long distance flight.
Compared to the Airpods 2
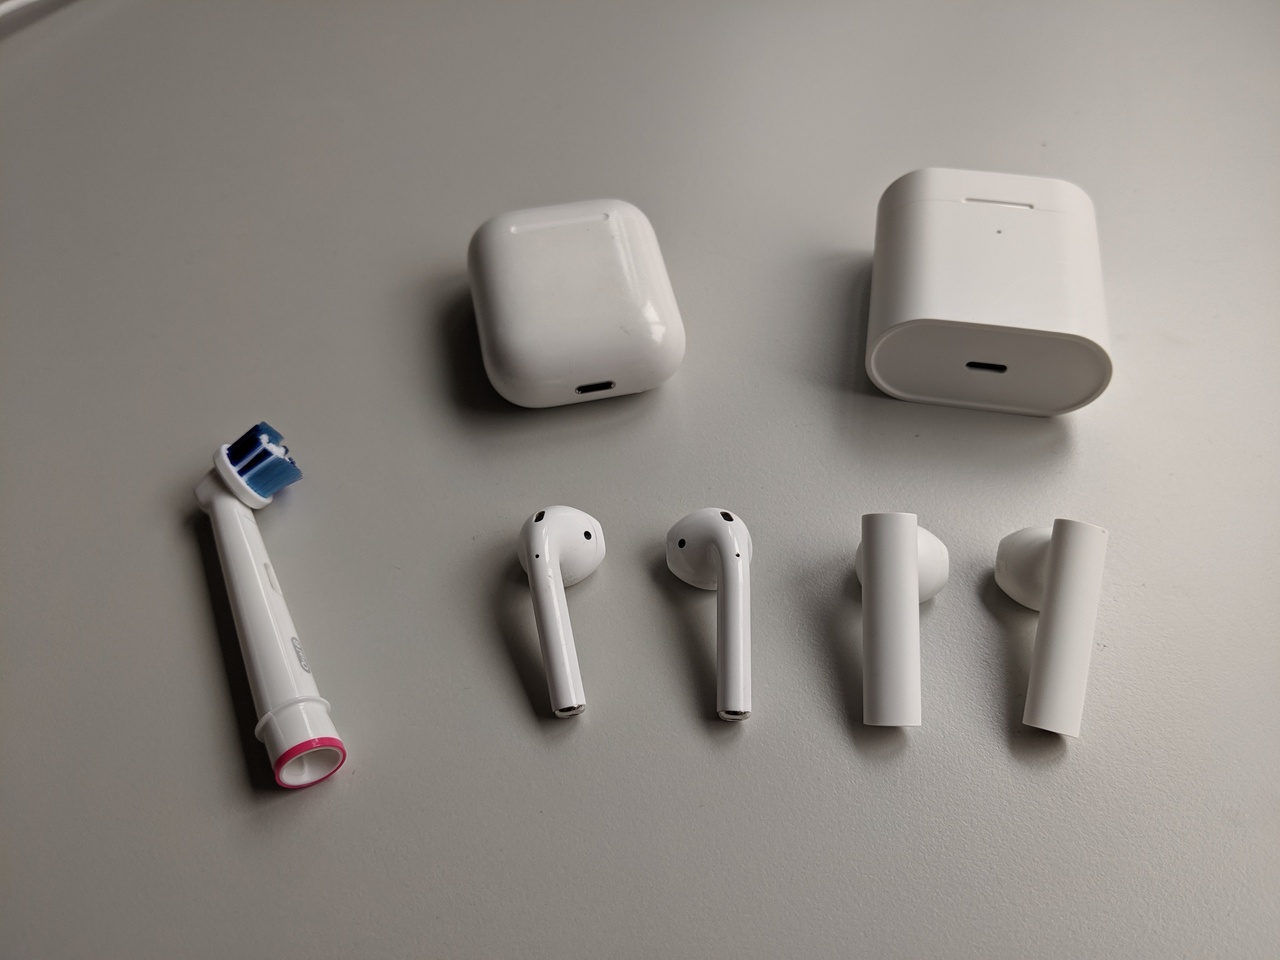
Looking at the feature-list above or simply at the images, the similarity to the Apple Airpods is apparent.
Out of curiosity I borrowed some from friend for comparison. The most important point is probably sound quality. Here we found the two virtually in-distinguishable. But keep in mind that we only did a quick test and did not use them extensively.
The second point is likely the form. Here, both earphones have the same ear-part and only differ by the shaft. So if one fits your ear, so should the other.
The shaft however is considerably wider on the Airdots. This is less apparent when viewed from the side as the thickness is similar.
For me, the more important difference is being able to control the headphones from my Android smartphone. This is currently not possible with the Airpods, while there is some way for the Airdots;
Companion app & Software integration
To control the earphones, you have to sideload the Xiao Ai Lite App. The main purpose of it is to provide the Xiaomi voice assistant and the Air2 options likely just ended up there instead of Xiaomi Home as they offer an always-on assistant integration just like the Airpods.
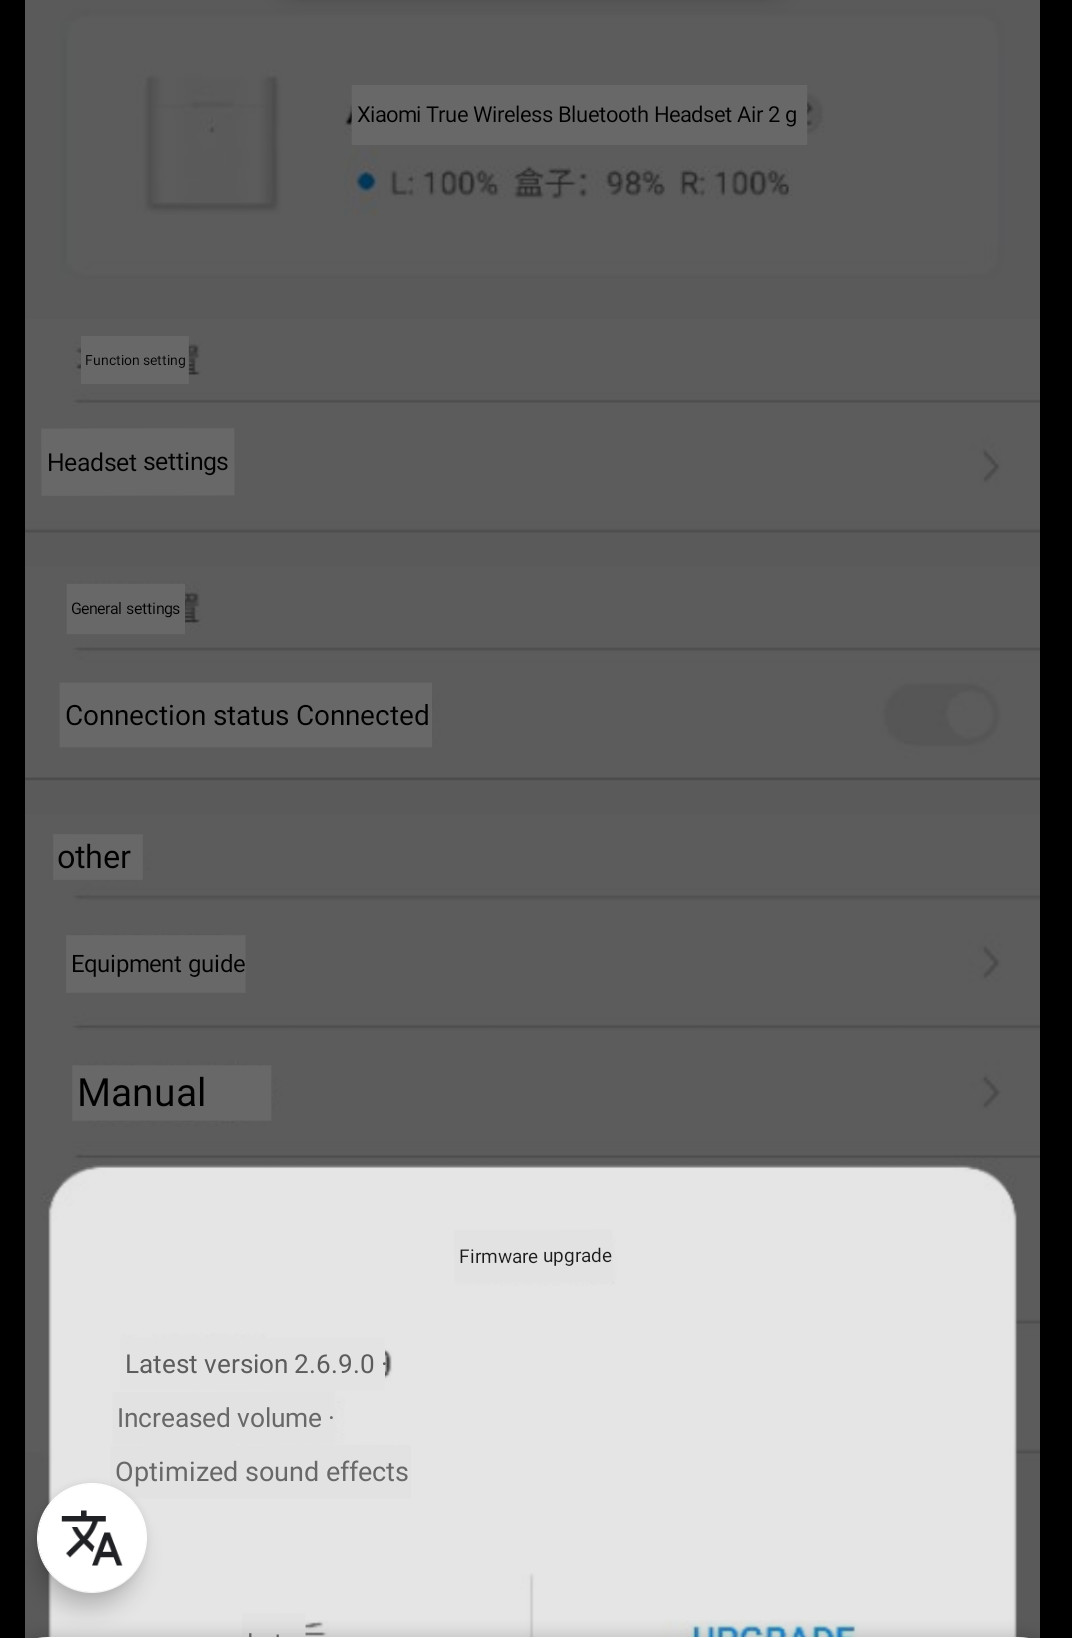
It handles firmware updates and allows you to configure the douple-tap action per earphone as well as displaying the charging status of the earphones and the case. By default android will only display the charging status of the least charged earphone.
Furthermore, you can use the fast-paring if the app is running. Here, it is sufficient to hold the earphone case close to the phone and just open it. The app will ask for confirmation. This is only slightly more convenient then holding the pairing button and using the normal bluetooth pairing procedure.
The downside is that the app is currently only available in Chinese and consequently the voice assistant only works with Chinese.
Addendum: “mauronfrio” translated most of the app and provides a modifed APK with english language support at XDA Developers. So there is no need to fiddle with google lens any more.
Below you find some views of the earphone related settings translated with google lens
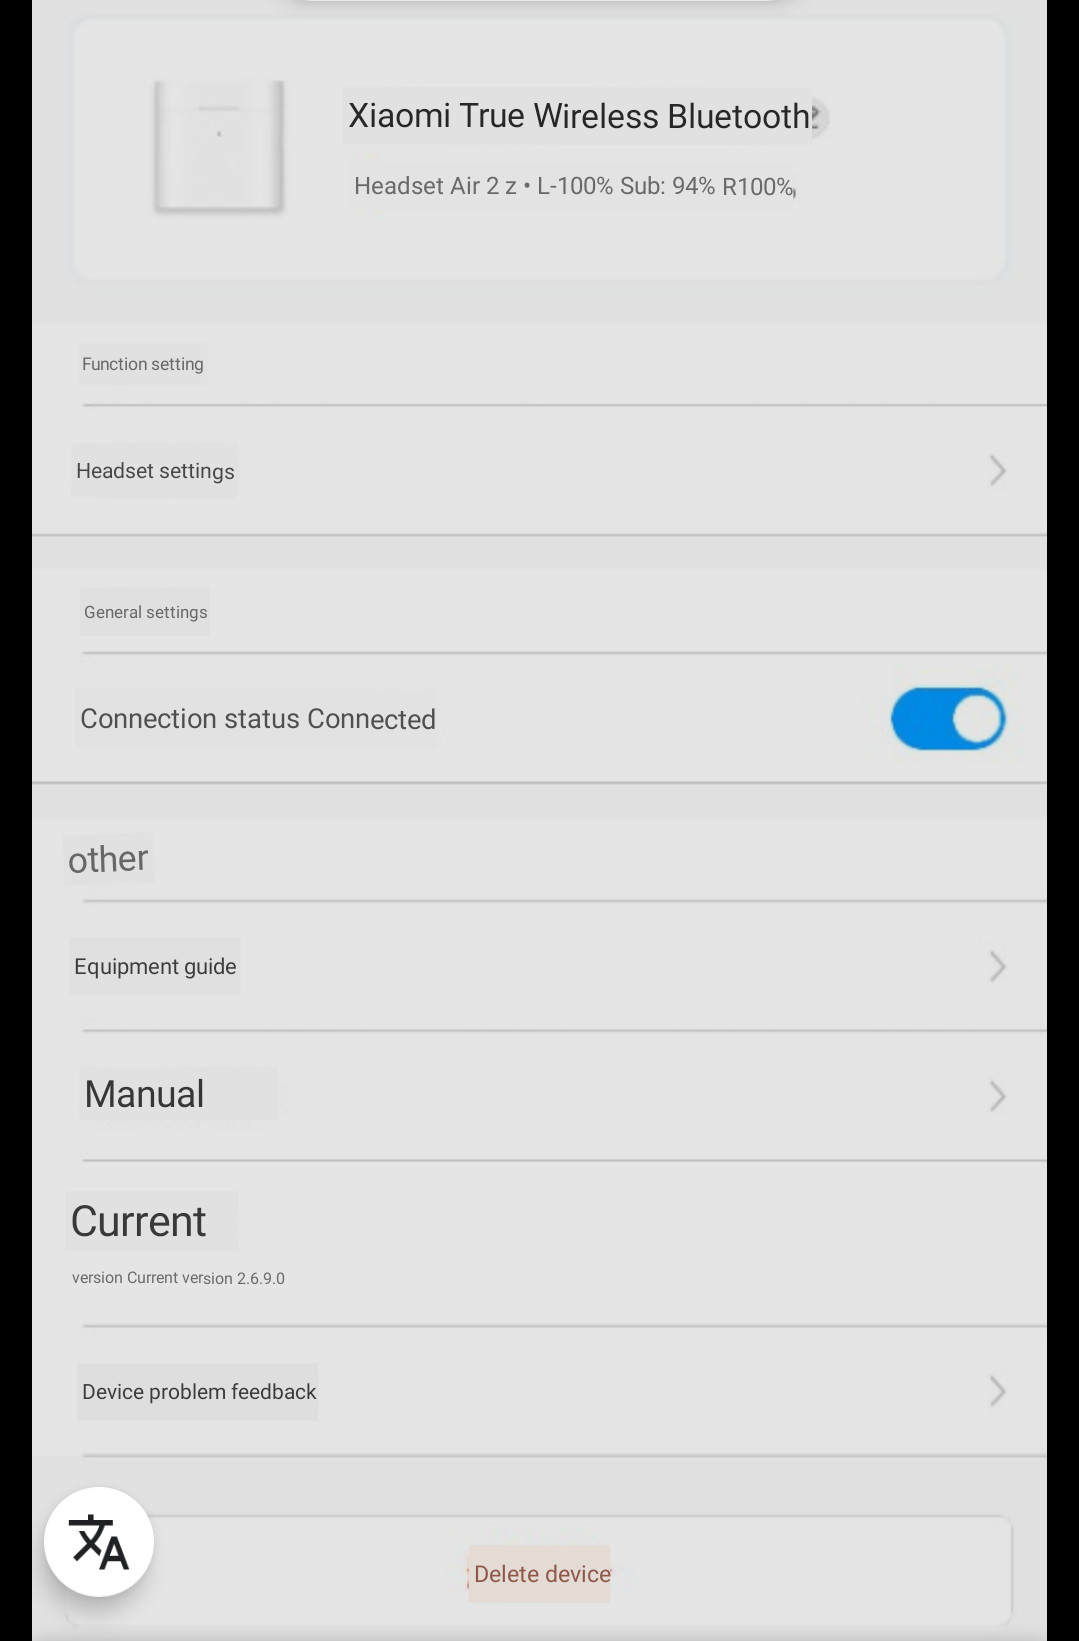
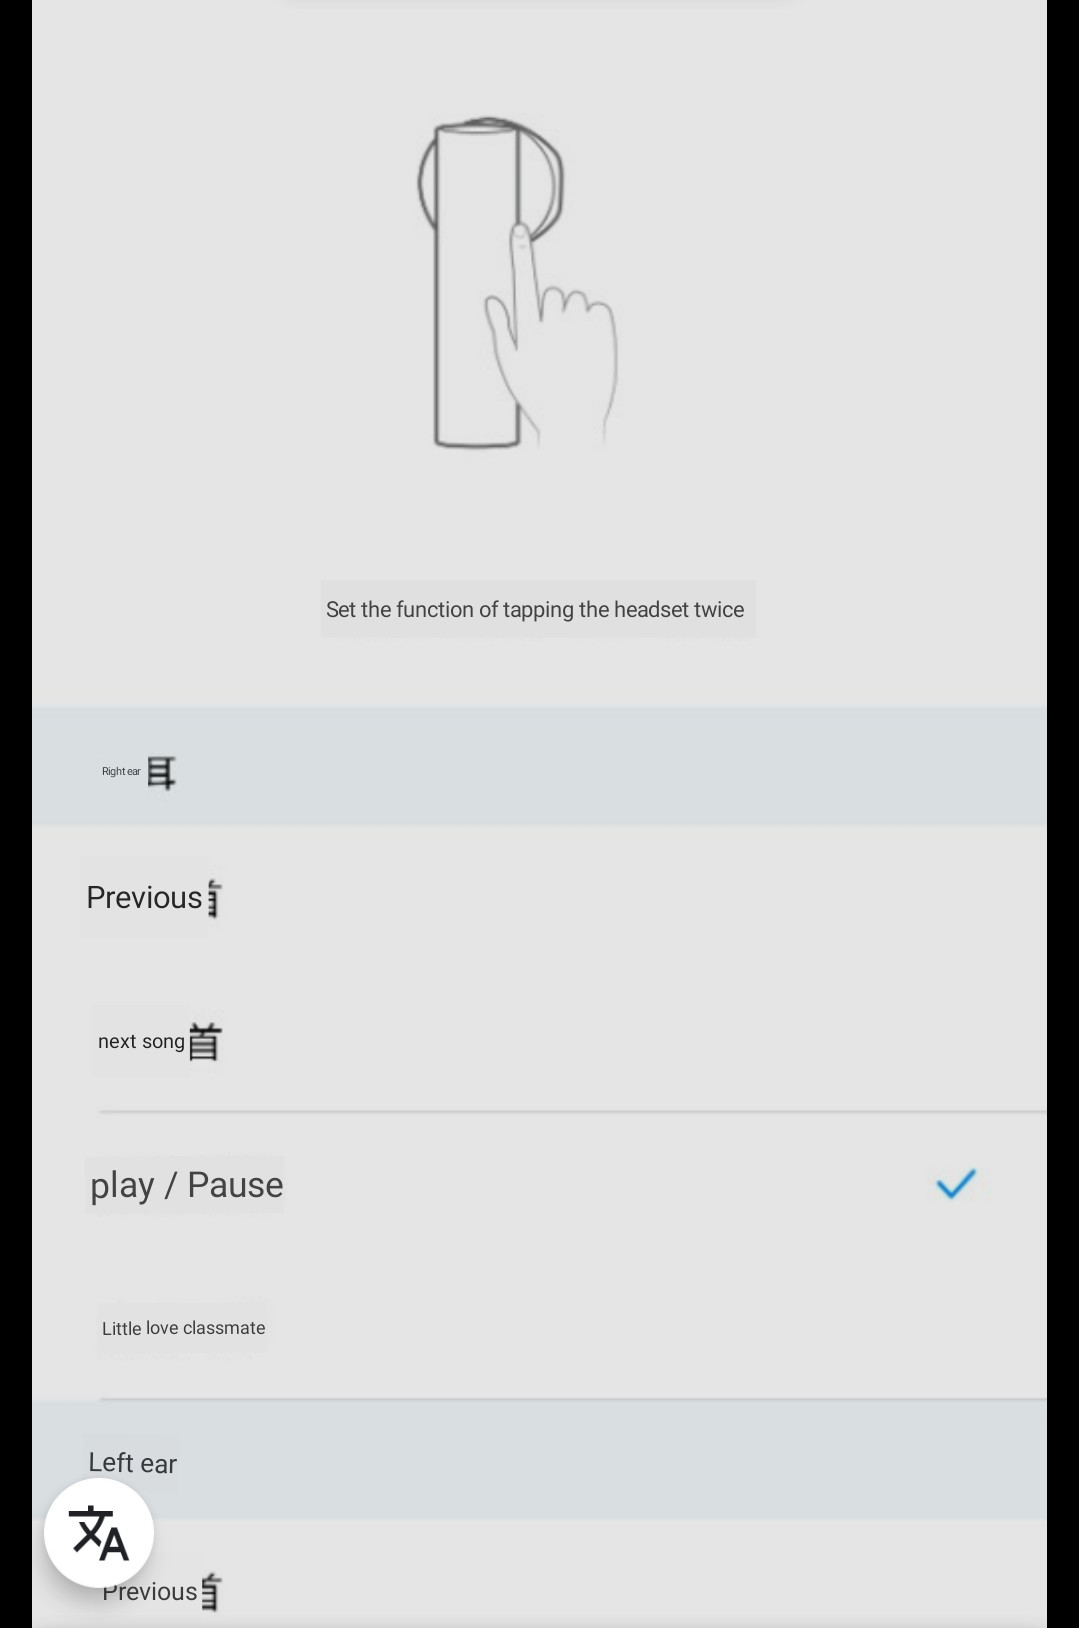
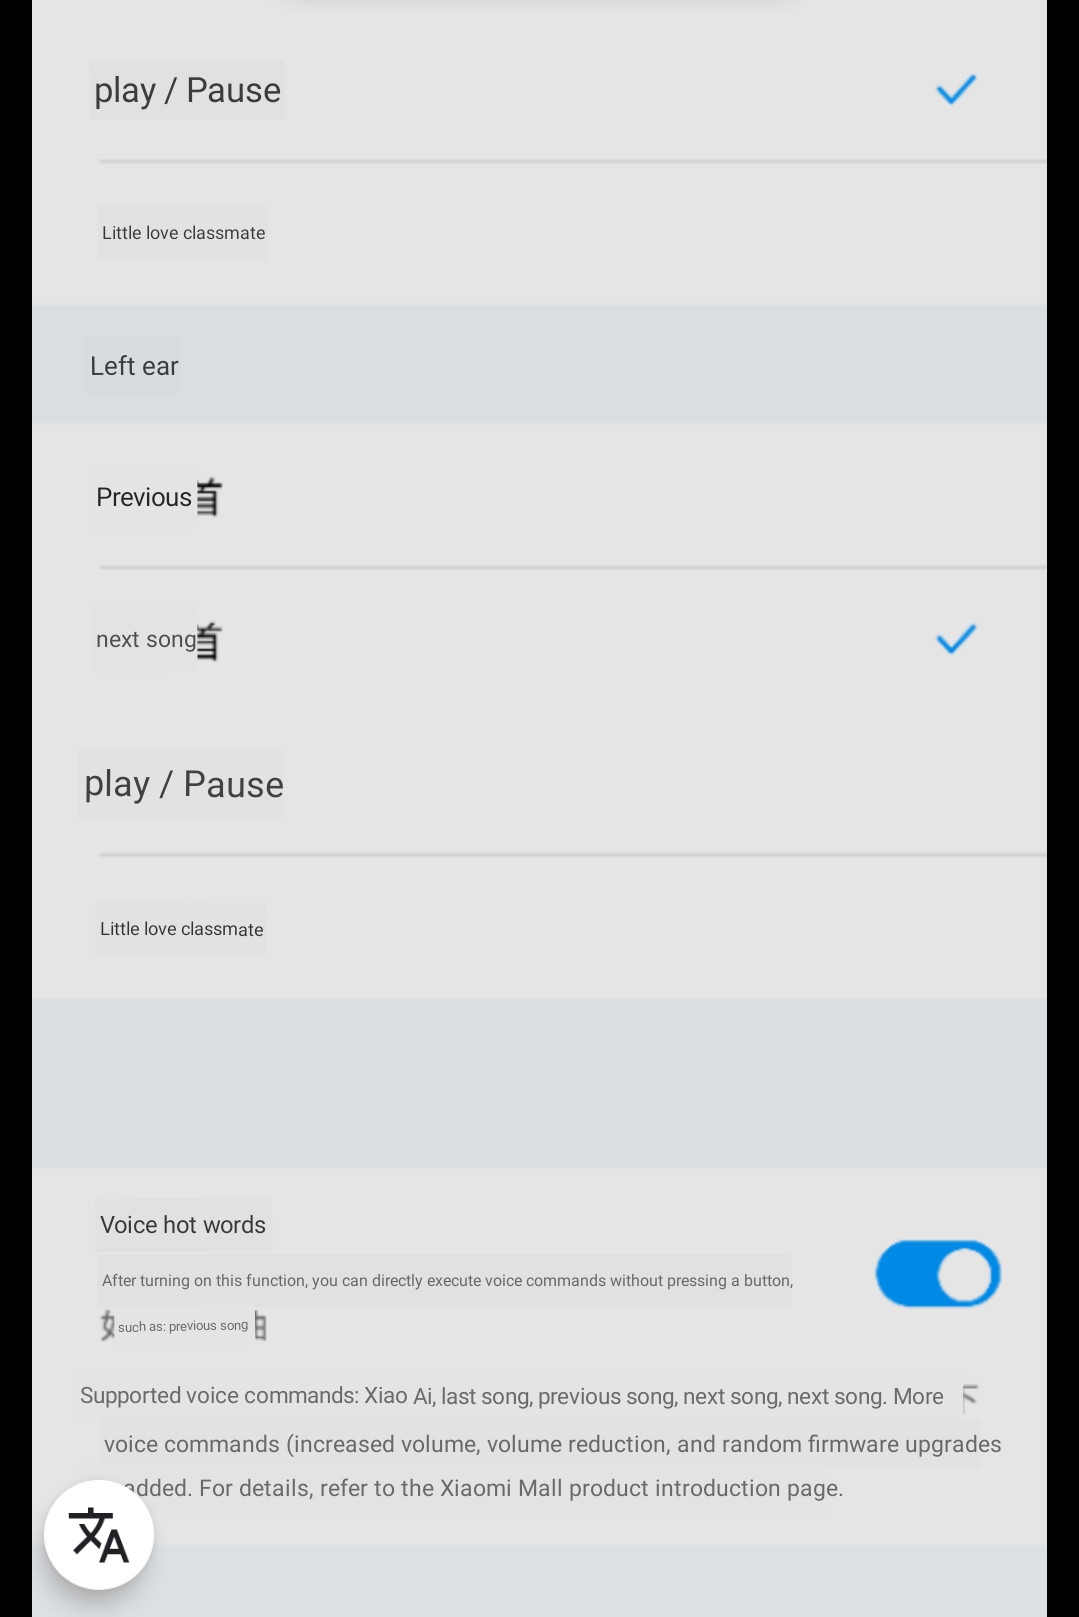
I tried out some voice commands via google translate and everything works as it should. However if you are not fluent in chinese it is far from practical. Most people should disable the assistant in the settings to avoid accidentally triggering it.
A serious advantage of Xiomi/ Huawei phones is the availability of the LHDC Bluetooth Codec which offers a superior bandwidth and latency.
While I am fine with the bandwidth provided by AAC when listening to music, there is still a noticeable and annoying delay when watching videos and playing games.
Noise Shielding
The firmware upgrade to v2.6.9.0 significantly improved the acoustic pattern of the headphones by tuning up the low bands (base) and thus general sound quality.
This results in a very noticeable noise reduction compared to v2.6.2.0 – especially in the lower frequencies; things like your footsteps get filtered out. Higher frequencies like car motor sounds are still perceivable though. This is however a good compromise for me.
Addendum: previously I stated that the headphones provide active noise cancellation. They do not. I was mistaken by the significantly improved noise shielding through the tuned up bases.
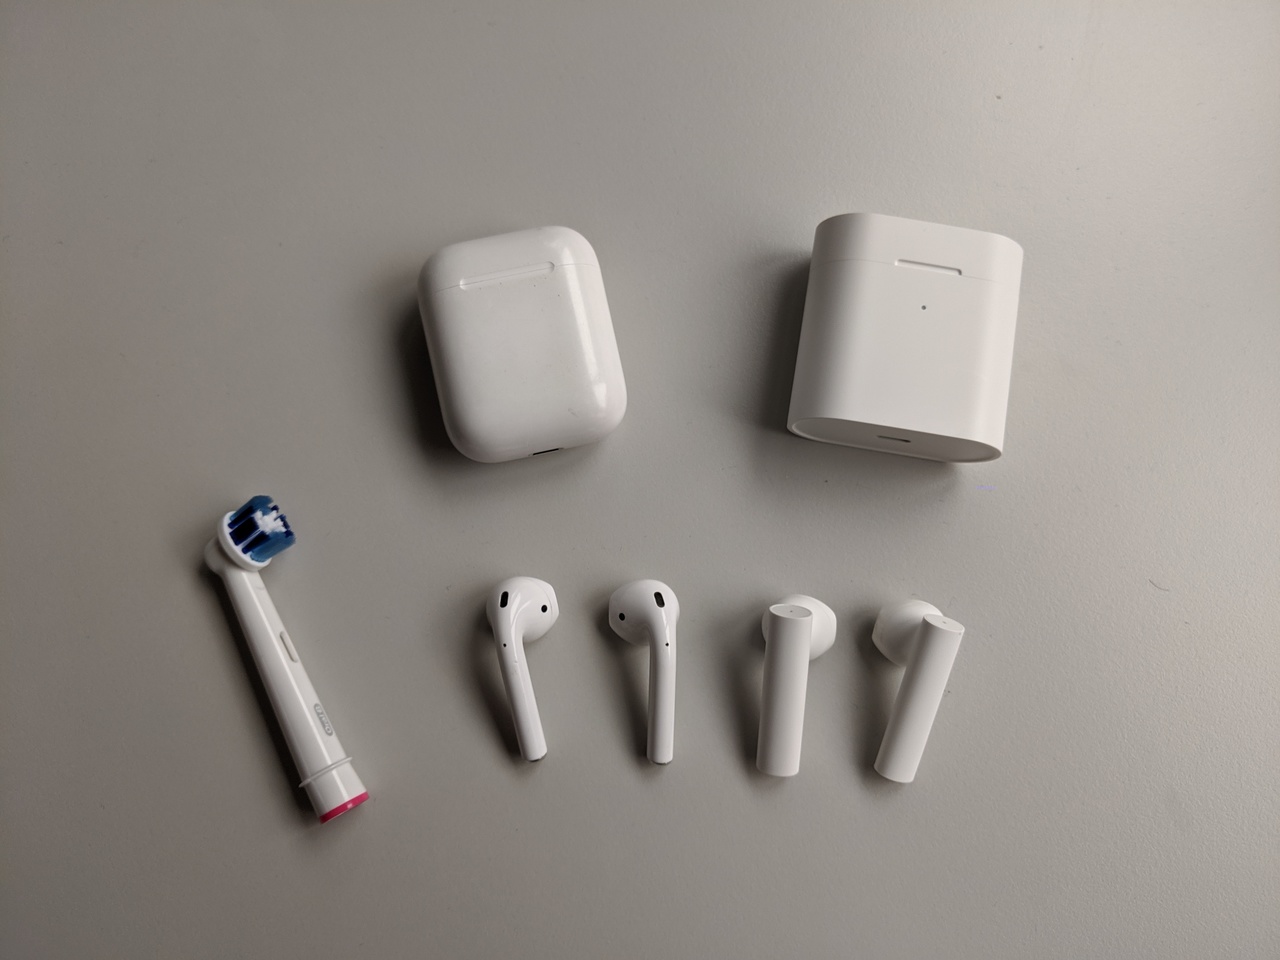
Compared to True Wireless Earphones 2 Basic / Air 2 SE (Addendum)
Ultimately my left earphone died (see below) – likely due to a deep discharge. The second pair of the Air 2 still works though. I will update this review when I find out whether I just had bad luck or whether there is a systematic issue.
Anyway.. as a replacement I ordered myself the Air2 SE earphones, given my phone does not support LHDC and other online reviews described them as “the Air2 without LHDC”.
Well, I guess some sites try to sell an unboxing story as a review..

As you can see on the image above the Air 2 SE are considerably longer than the normal Air 2 and also have different vents.
While they are slightly too long now for my taste, my largest complaint is the sound quality. Basically, the bases which improved sound quality and shielding on the Air2 after the firmware update are missing here. So we have no shielding and a noticeably worse sound quality here.
Next, the microphones on the Air 2 SE are noticeable less sensitive and I had to raise my voice from normal level so my callees could here me.
Finally, the Air2 SE are not supported by the XiaoAI app, so you get no firmware updates and no configurable tap-actions.
Given the small pricing difference between the Air 2 and the Air 2 SE, I therefore recommend to always go for the former.
Also, if you encounter some sites that tell you the Air2 and Air2 SE are the same, please enable your adblocker. Especially if they jabber about different touch zones, even though the marketing material makes it quite clear that up/ middle/ down means you can touch the single zone at any position.
Charging issues
Over time I noticed that the left earphone consistently runs out of battery before the right one.
The issue seems to be that it discharges while stored inside the case. Putting it in and out resolves the issue – but only until it is fully charged. This makes keeping the earphones pre-charged and ready quite an issue.
Hopefully this can be addressed with a future firmware update. (reproduced with firmwares up to v2.7.1.0)
Addendum: the replacement pair (see above) do not have any charging issues. Therefore I guess the issue is just a singular manufacturing defect.