With Google cutting its unlimited storage and ending the Play Music service, I decided to use my own Nextcloud more seriously.
In part because Google forced all its competitors out of the market, but mostly because I want to be independent of any cloudy services.
The main drawback of my existing Nextcloud setup, that I have written about here, was missing redundancy; the nice thing about putting your stuff in the cloud is that you do not notice if one of the storage devices fails – Google will take care of providing you with a backup copy of your data.
Unfortunately, the Intel NUC based build I used, while offering great power efficiency did not support adding a second HDD to create a fail-safe RAID1 setup. Therefore I had to upgrade.
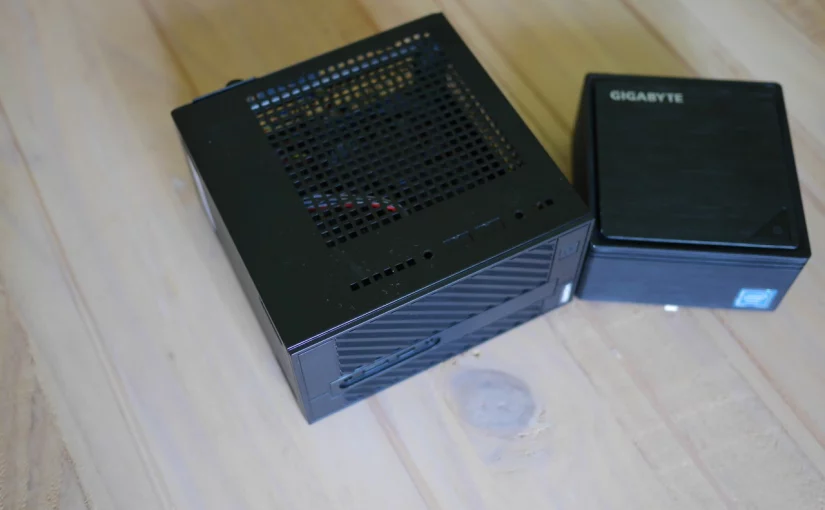
As I still wanted to keep things power-efficient in a small form-factor, my choice fell on the ASRock DeskMini series. Here, I went with the AMD Variant (A300) in order to avoid paying the toll of spectre mitigations with Intel (resulting in just 80% of baseline performance).
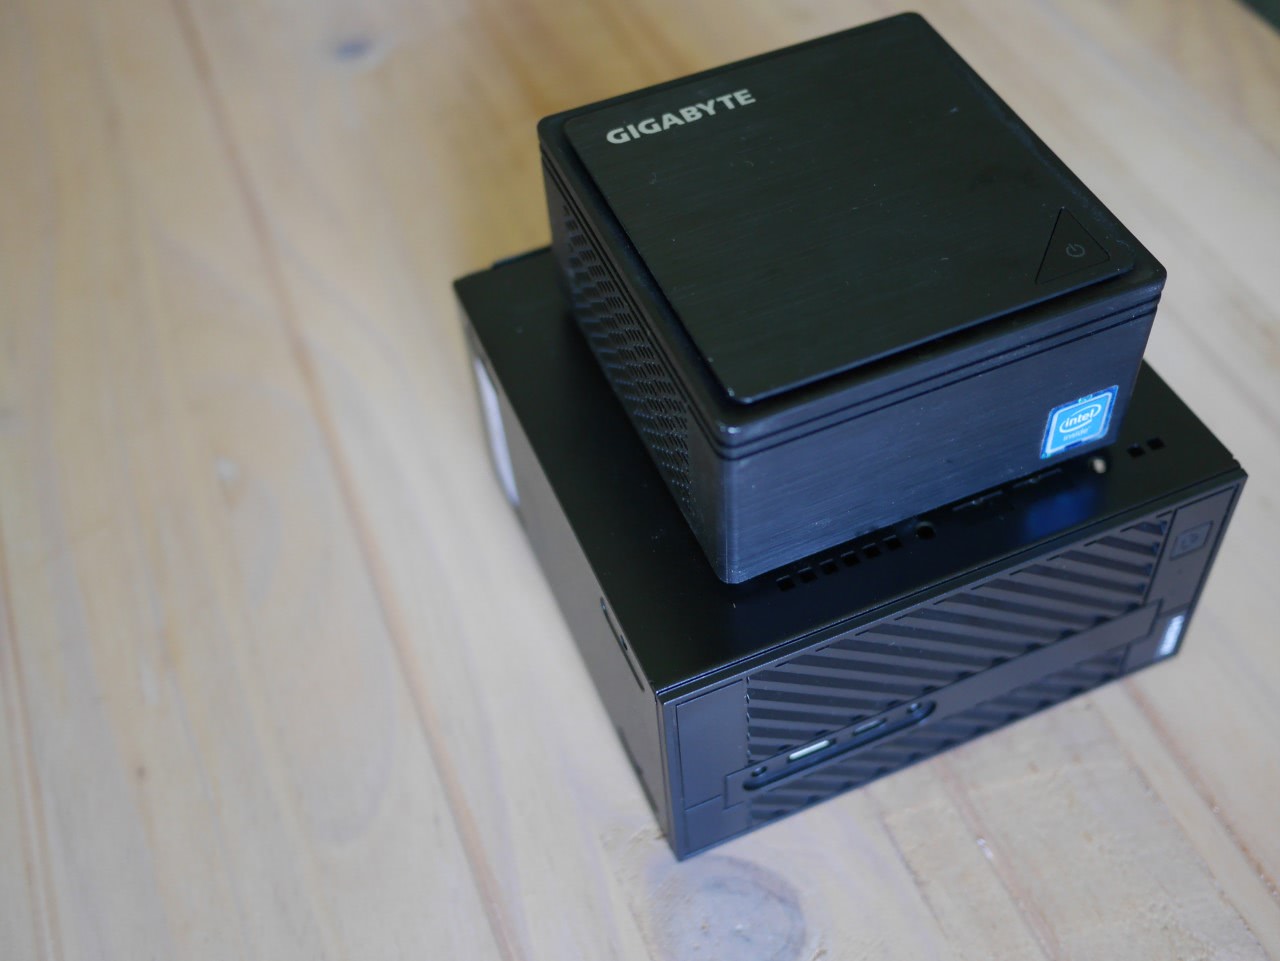
The photos above show you the size difference, which is considerable – yet necessary to cram two 2.5″ SATA drives next to each other.
Here, keep in mind that while the NUC devices have their CPU soldered on, we are getting the standardized STX form-factor with the A300, which means you can replace and upgrade the mainboard and the CPU as you wish, while with a NUC you are basically stuck with what you bought initially.
The full config of the build is as follows and totals at about 270€
- ASRock DeskMini A300
- AMD Athlon 3000G
- 8GB Crucial DDR4-2666 RAM
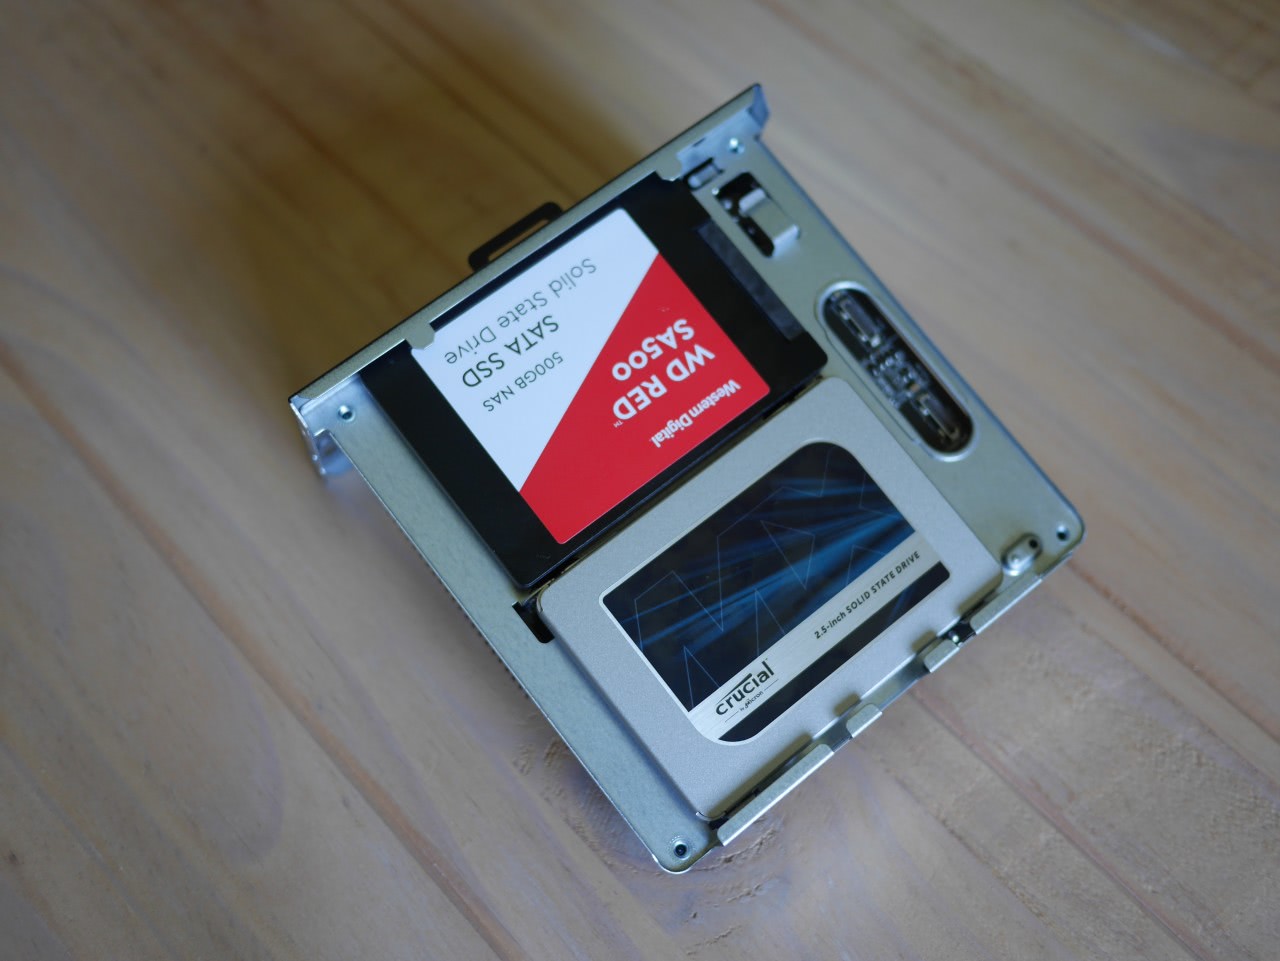
- WD Red SA500 NAS 500GB
- Crucial MX500 500GB
Note, that I deliberately chose SSDs from different vendors to reduce the risk of simultaneous failure.
Also, while the 3000G is not the fastest AMD CPU, it is sufficient to host nextcloud and is still a nice upgrade from the Intel Celeron I used previously.
Furthermore, its 35W TDP nicely fits the constrained cooling options. Note, that you can limit for Ryzen 3/5 CPUs to 35W in the BIOS as well, so there is not need to get their GE variants.
However, for a private server you probably do not need that CPU power anyway, so just go with the Athlon 3000G for half the price.
Unfortunately, the A300 system is not designed for passive cooling and comes with a quite annoying CPU fan. To me the fan coming with the Athlon 3000G was less annoying, so I used that instead.
Anyway, you should set the fan RPM to 0% below 50° C in the BIOS, which results in 800 RPM and is unhearable while keeping the CPU reasonably cool.
Power Consumption
As the machine will run 24/7, power consumption is an important factor.
The 35W TDP gives us a upper limit of what the system will consume on persistent load – however the more interesting measure is the idle consuption as thats the state the system will be most of the time.
As I already tried some builds with different ARM architectures, we have some interesting values to compare to, putting the A300 build in perspective
| Build | CPU | Idle | Load |
|---|---|---|---|
| Odroid U3 | Exynos4412 | 3.7 W | 9 W |
| Gigabyte BRIX | Intel N3350 | 4.5 W | 9.6 W |
| A300 | Athlon 3000G | 6.8 W | 33.6 W |
While you can obviously push the system towards 35W by with multiple simultaneous users, the 7.3 W idle consumption is quite nice.
Keep in mind, that the A300 was measured with two SATA drives operating as RAID1. If you only use one you can subtract 1W – at which point it is only 1.5 W away from the considerably weaker NUC system.
You might now wonder, whether the load or the idle measure is closer to the typical consumption. For this I measured the consumption for 30 days, which totaled at 5.23 kWh – or 7.2 Watts.
Currently, the average price for 1 kWh is 0.32€, so the running the server costs about 1.67€/ Month. For comparison, Google One with 200 GB will set you off 2.99 €/ Month.
Power optimizations
To reach that 7.3 W idle, you need to tune some settings though. The most important one and luckily the easiest to fix is using a recent kernel.
If you are on Ubuntu 18.04, update to 20.04 or install the hwe kernel (5.4.0) – it saves you 4 Watts (11.3 to 7.3).
For saving about 0.5 watts, you can downgrade the network interface from 1Gbit to 100Mbit by executing
ethtool -s enp2s0 speed 100 duplex full autoneg onAdditionally, you can use Intels powertop to tune your system settings for power saving as
powertop --auto-tune
One thought on “Self-built NAS for Nextcloud hosting”