I got myself the MouldKing 13106 Forklift, which is based on the MOC 3681 by KevinMoo and wanted to share my impressions with you.
First of all, MouldKing actually improved the set by exclusively using back technic pins instead of the blue ones like in the MOC. Also they are officially cooperating with the MOC designer – so he is likely getting some share of the sales.
The set comes with “New PowerModule 4.0″, which means it supports proportional output. If you use the new joystick controller (like I do in the video) or use the app, you can have smooth controls of the motors and not just binary 0% or 100% throttle as with the standard remote.

As you can see, I actually put on some of the stickers. Some purists never do anything like this, because they argue that after some time the stickers start peeling off and look used. This is certainly a good point if you are building a sports-car – with a Forklift however, I would argue broken stickers add to the looks.
Compared to the original MOC, Mould King removed the lights, but added a pallet similar to the one found in the Lego 42079 Forklift.
Interested in getting the set? Support this Site by using the following affiliate Link:
Manual errata & comments
Generally, I prefer the Mould King manual to the original by Kevin Moo as I like renderings more than photographs. However, its nice to have the original at hand if something looks fishy. While building, I noticed the following:
Step 34: Cable-management is almost completely skipped in the manual. I laid all cables through the opening behind the threads. This keeps them out of the way later. The fiddle through the cables of the motors, that you add at steps 52 & 55.
Step 100: The battery-box position is wrong. It will collide with the bar you added at step 96. To make it fit, just rotate the battery-box by 180°.
Also, the direction of motor A has to be reversed. Press and hold left-shoulder, up and down for 3 seconds for this.
Step 111: The arms that you added in steps 89/ 90 should be oriented upwards to hold the footstep.
Step 143: Use a black bush instead of the 2-pin-axle beam, so things look symmetrical. This is a leftover from the original MOC, which squashed the IR receiver in there.
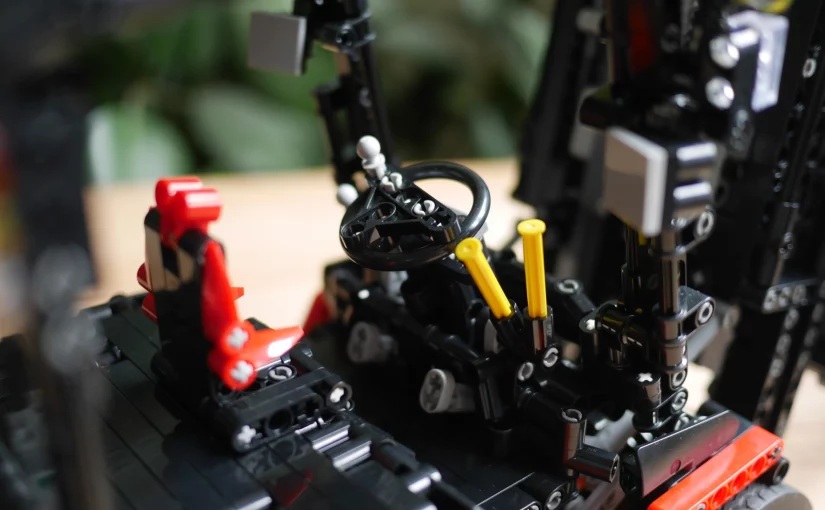
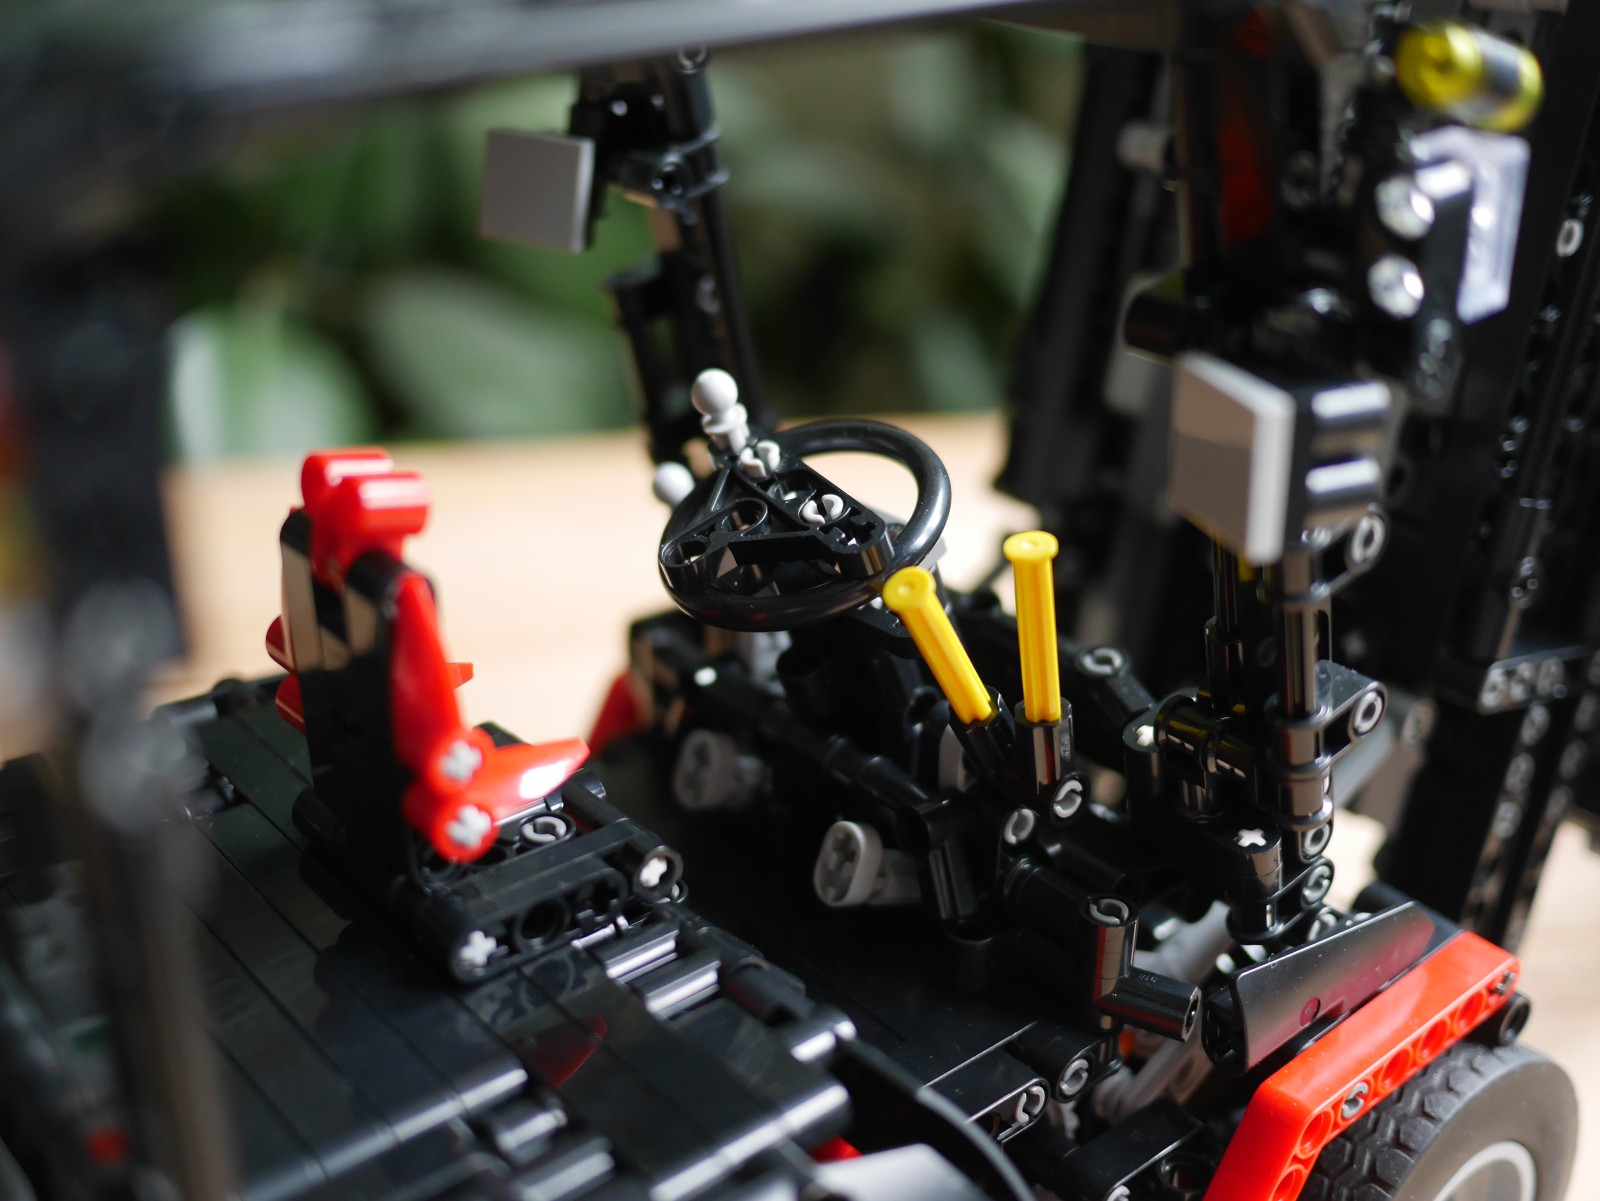
Step 156: Attach the levers to the front console at step 173 instead of attaching them to the seat here. After all they are supposed to control the fork and not the backrest.
Step 214: I suggest using gray 2-axles at step 230 instead of the suggested whites. This way the front facing axes will be all gray. For this just use white 2-axles here. Those wont be visible at all anyway.
Step 277: When adding the fork to the lift-arm, make sure that it has as much play as possible. Otherwise the fork will get stuck when moved all the way up.
Step 278: Do not fix the threads yet. Wait until the end so you can correctly measure the lowest position of the fork (which gives you the length of the threads).
Step 286: Make sure that the 3-pin pops out towards the 8-axle. This will make joining things at step 288 much easier.